Cherry Pie Filling

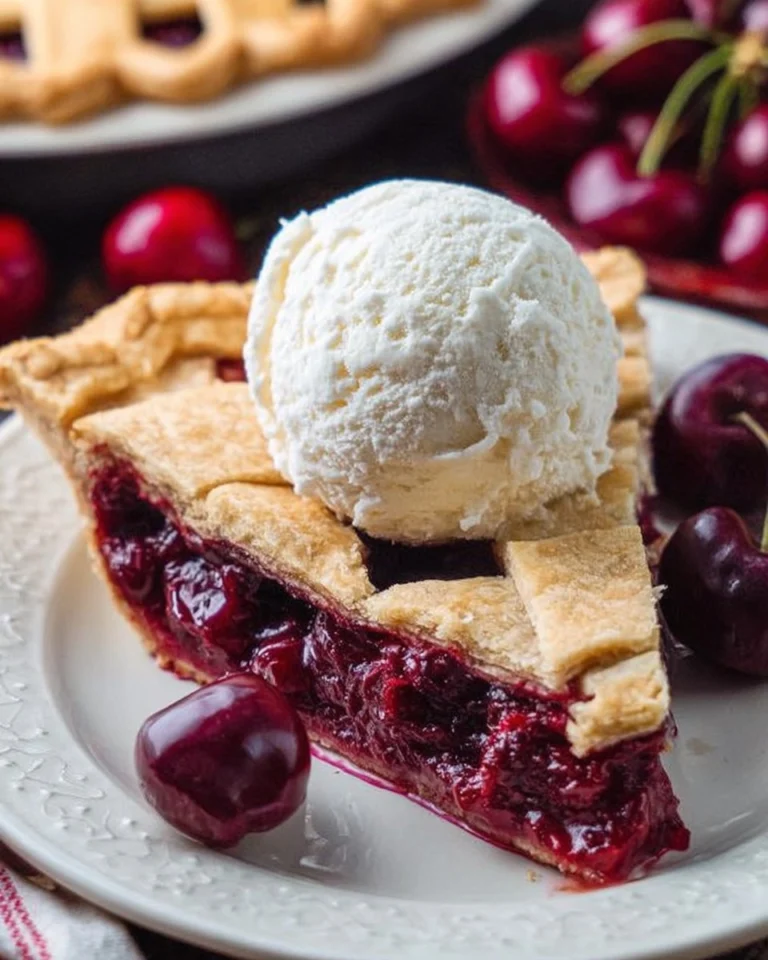
Cherry pie filling is a versatile and delightful concoction that brings a taste of what summer should always taste like. Bursting with juicy cherries, this filling is sweet yet slightly tart, creating the perfect flavor balance. Whether you’re topping a classic dessert, spooning it over pancakes, or simply savoring it by the spoonful, this cherry pie filling is a must-have in every home cook’s recipe arsenal.
Table of Contents
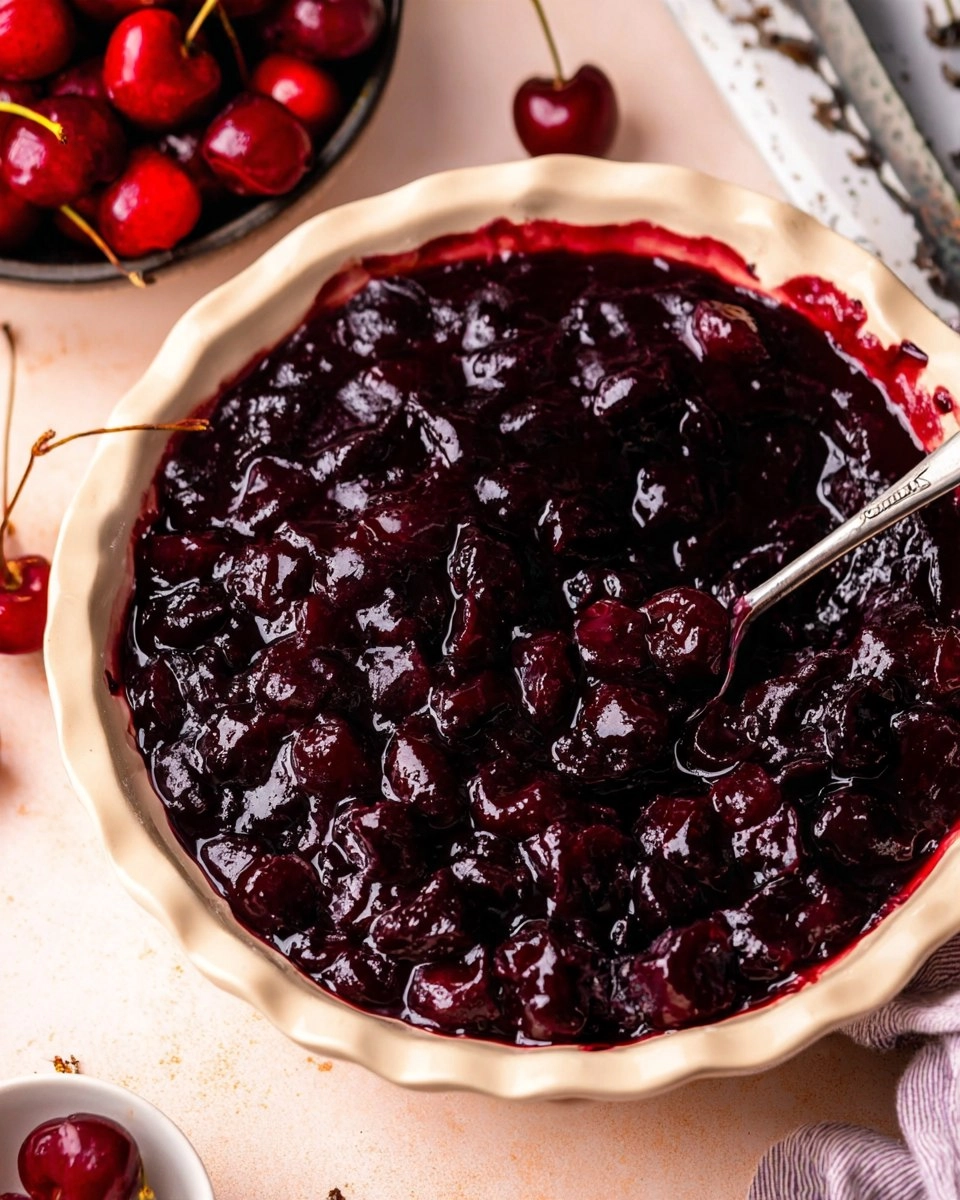
I remember the first time I made cherry pie filling; it was during a cozy afternoon with my kids, and we used freshly picked cherries from a nearby orchard. The aroma of cherries cooking on the stove filled our kitchen, and the laughter and excitement we shared made it an unforgettable experience. The moment it was ready, we couldn’t resist the temptation of tasting it straight from the pot. That juicy, flavorful goodness had us all hooked! Trust me when I say this recipe is not just easy and budget-friendly but can also be a literal cherry on top for a variety of dishes.
Why You’ll Love This Recipe
- Simple & Quick: It takes only about 15-20 minutes to make, making it perfect for any occasion.
- Irresistible Flavor: The combination of sweet cherries and almond extract creates a deliciously complex taste.
- Eye-Catching Appeal: This vibrant red filling adds a pop of color to any dessert or breakfast.
- Flexible Serving: Perfect as a pie filling, topping for ice cream, or even as a yummy breakfast sauce!
- Diet-Friendly Options: Easily adaptable for gluten-free or dairy-free recipes.
Ingredients You’ll Need
- 1 lb Cherries, fresh or frozen: These form the core of your filling. If using fresh, look for ripe cherries with vibrant color. Frozen cherries are a convenient alternative—no need to thaw them beforehand!
- 1/2 cup White granulated sugar: This sweetens the filling and helps bring out the natural sweetness of the cherries. You can use brown sugar for a deeper flavor or adjust it for a less sweet result.
- 1 TBSP Cornstarch: This thickens the filling, giving it that desirable, spoonable consistency. If you’re in a pinch, you could use all-purpose flour, keeping in mind it may slightly alter the flavor profile.
- 1 TBSP Water: This helps dissolve the sugar and corn starch while controlling the consistency of the filling.
- 1/4 tsp Almond extract: Adding a splash of almond extract elevates the flavor, providing a nutty aroma that complements the cherries beautifully. Almond extract is optional, but I highly recommend it for an added depth.
How to Make Cherry Pie Filling
Prep Your Cherries: Start by making sure your cherries are pitted. If you’re using fresh cherries, a cherry pitter will save you time; otherwise, be careful while pitting them to avoid bruising. In a medium saucepan, combine the cherries, 1/2 cup granulated sugar, 1 TBSP cornstarch, 1 TBSP water, and 1/4 tsp almond extract. Mix everything together gently, ensuring the cherries are evenly coated.
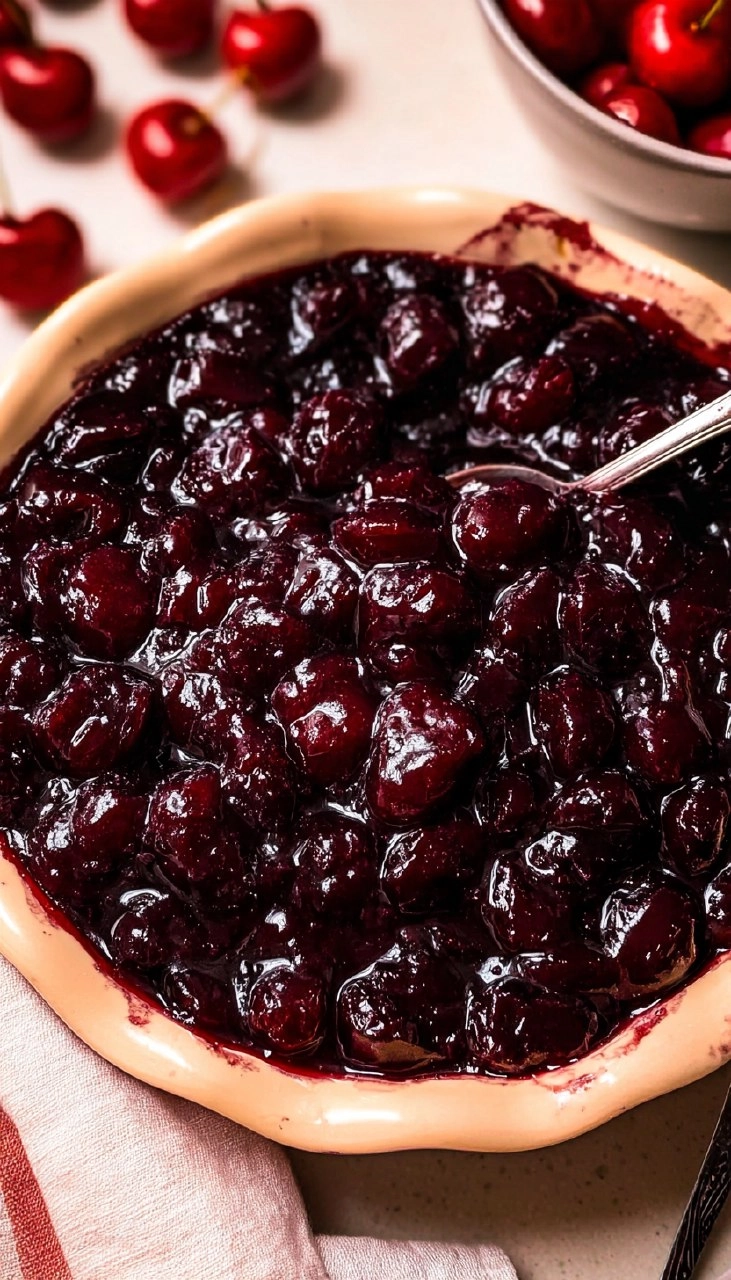
Cook and Mash: Place the saucepan on medium heat. Stir occasionally until the juice starts to separate and the cherries soften—about 5-7 minutes. If you prefer a smoother texture, take a potato masher and mash the cherries to your desired consistency. I like my cherry filling to be a bit chunky, resembling more of a compote, but it’s all about your individual taste!
Thicken the Filling: Continue to cook the mixture, stirring gently until it thickens, which should take another 5-10 minutes. Once ready, you’ll end up with roughly 1 1/2 cups of glorious cherry filling. Transfer it to a bowl, and let it cool completely. To speed up the process, pop it in the fridge for a bit!
Storing & Reheating
You can store the cherry pie filling at room temperature for up to two hours. For longer storage, keep it in an airtight container in the fridge for about 4-5 days. If you want to make it ahead, feel free to freeze it for up to 3 months. Just label your containers so you know what you’re pulling out later! When ready to use, simply thaw overnight in the fridge. You can reheat it gently on the stove over low heat or in the microwave in short bursts. Keep in mind that the texture might change slightly upon reheating, so give it a good stir to bring it back together.
Chef’s Helpful Tips
- Ensure your cherries are ripe for the best flavor; overripe cherries can make the filling too mushy.
- If you’re using frozen cherries, you don’t need to thaw them before cooking. Just add an extra minute or two to cooking time for even results.
- Avoid cooking on too high a heat. Medium allows the sugars to dissolve and blend smoothly without scorching the mixture.
- If you find the filling is too thick, add a splash of water to reach your desired consistency while reheating.
- For a fun twist, try adding a pinch of cinnamon or lemon zest for an extra flavor boost.
The cherry pie filling you create from scratch not only brings your desserts to the next level, but it also cultivates memories, inviting those around the table to share in something special. The perfect combo of sweet and tart invites creativity and experimentation. Use this filling for traditional cherry pies, slather it over yogurt for a fruity breakfast, or spoon it atop cheesecake for an indulgent treat.
Recipe FAQs
How can I ensure my cherry filling is not too sweet?
To control the sweetness, start by reducing the sugar by a tablespoon or two, especially if your cherries are sweet. You can also balance the flavors with a squeeze of fresh lemon juice, which brightens the taste without adding sweetness.
Can I make this cherry filling in advance?
Absolutely! You can prepare the filling up to a week ahead and store it in the fridge. Simply allow it to cool completely before transferring it to a container. It can also be frozen for up to three months, making it a great make-ahead option.
What is the best way to pit cherries if I don’t have a pitter?
If you find yourself without a cherry pitter, you can use a small knife to cut around the cherry and pop the pit out with your fingers. Alternatively, use a straw to push the pit out from the bottom; the trick works surprisingly well!
How do I adjust this recipe for other fruits?
You can easily swap cherries for any other berries or fruit like blueberries, blackberries, or even mixed berries. Adjust the sugar according to the natural sweetness of the fruit used, and keep the cornstarch to ensure a nice thick filling. Enjoy experimenting!
By making this cherry pie filling yourself, you’re not only treating yourself but also adding a dash of love and homemade goodness to your desserts. So, roll up those sleeves and get cooking—deliciousness is just a pot away!
PrintMore Desserts & Appetizers Recipes
- Easy Cucumber Tomato Dill Salad
- Cherry Hand Pies
- Easy Homemade Cherry Pie
- Homemade Cherry Crisp
- Banana Split Fluff Salad
Did You Enjoy Making This Recipe? Please rate this recipe with ⭐⭐⭐⭐⭐ or leave a comment.
📖 Recipe Card
Cherry Pie Filling
- Prep Time: 300 minutes
- Cook Time: 900 minutes
- Total Time: 20 hours
- Yield: 1 1/2 cups 1x
- Category: Desserts & Appetizers
- Method: Stovetop
- Cuisine: American
Description
This Cherry Pie Filling bursts with irresistible flavor and is easy to prepare. Made with fresh or frozen cherries, sugar, and almond extract, it’s great for pies, tarts, or delightful desserts. Enjoy homemade goodness in every bite!
Ingredients
- 1 lb Cherries, fresh or frozen
- 1/2 cup White granulated sugar
- 1 TBSP Cornstarch
- 1 TBSP Water
- 1/4 tsp Almond extract
Instructions
- Pit the fresh cherries if using them. In a medium saucepan, combine the cherries, sugar, cornstarch, water, and almond extract, mixing well.
- Heat the mixture over medium heat until the juice from the cherries begins to separate and they soften. Mash the cherries to your desired consistency, fully mashing for a more compote-like texture.
- Continue heating until the filling thickens, resulting in about 1 1/2 cups of cherry filling. Pour into a bowl and cool completely, or refrigerate for faster chilling.
Notes
For added flavor, consider using vanilla extract along with almond extract.
This filling can be stored in the refrigerator for up to a week.
Perfect for topping ice cream or as a pie filling.
Nutrition
- Serving Size: 1/4 cup
- Calories: 120
- Sugar: 25g
- Sodium: 0mg
- Fat: 0g
- Saturated Fat: 0g
- Unsaturated Fat: 0g
- Trans Fat: 0g
- Carbohydrates: 30g
- Fiber: 1g
- Protein: 1g
- Cholesterol: 0mg