Chocolate Ice Cream

Homemade chocolate ice cream is a timeless classic. The smooth, creamy texture combined with the rich, decadent flavor makes it a treat that appeals to everyone, from kids to adults. There’s something incredibly satisfying about scooping out a bowl of homemade ice cream, knowing exactly what went into it. It’s truly a taste of summer, but honestly, who needs summer for a scoop of chocolatey delight?
Table of Contents
When I first ventured into the world of homemade desserts, chocolate ice cream was one of the first recipes I tackled. It felt adventurous yet comforting to see simple ingredients turn into something extraordinary. There’s a delightful rhythm to the process, from heating the dairy to churning it in the ice cream maker. This chocolate ice cream recipe is not only delicious but also a perfect way to cool off on hot days or simply satisfy sweet cravings any time of the year. I can’t wait for you to give it a try!
Why You’ll Love This Recipe
- Simple & Quick: With a prep time of just about 30 minutes (plus chilling), you’ll be savoring your chocolate ice cream in no time!
- Irresistible Flavor: Each scoop is packed with a rich chocolate taste and creamy texture that’s far superior to store-bought varieties.
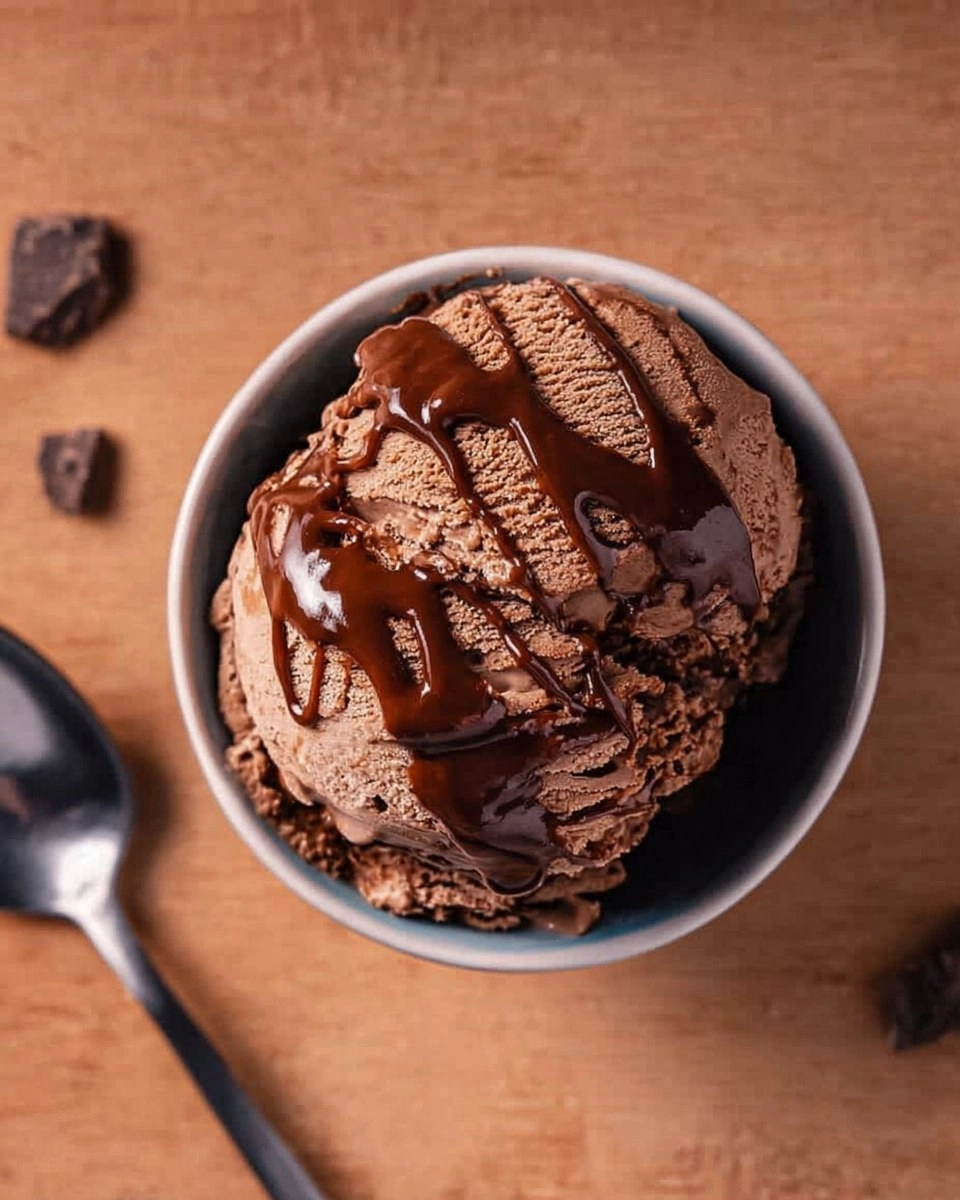
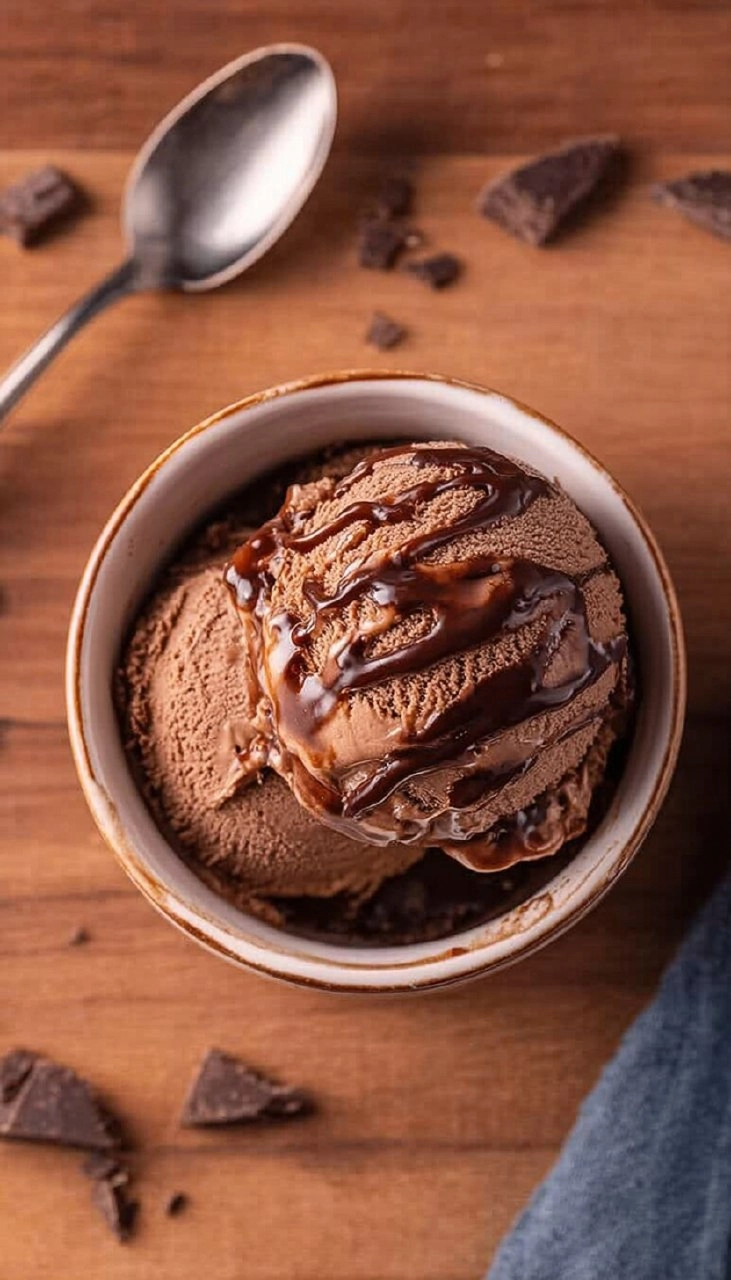
- Eye-Catching Appeal: Swirls of chocolate fudge on top make for an irresistible presentation that will impress everyone.
- Flexible Serving: Perfect for special occasions, summer parties, or even a cozy movie night at home.
- Diet-Friendly Options: You can experiment with dairy alternatives if vegan or lactose-free is your preference, making this recipe adaptable.
Ingredients You’ll Need
- 1½ cups heavy cream: This is essential for achieving that rich, creamy texture. A high-fat cream is the best choice for ice cream.
- 1½ cups whole milk: Whole milk provides the right balance of creaminess while keeping the texture scoopable.
- ½ cup granulated sugar: This sweetener enhances the flavor and helps create a smooth, creamy consistency.
- 3 tablespoons cocoa powder: Use high-quality cocoa for deeper chocolate flavor.
- 2 tablespoons light corn syrup (optional): It contributes to a smoother texture, helping prevent ice crystals from forming.
- ¼ teaspoon fine sea salt: A pinch of salt elevates the chocolate flavor without making the ice cream taste salty.
- 4 large egg yolks: These add richness and help create that custard base that makes the ice cream luscious.
- 1 tablespoon vanilla extract: A splash of vanilla complements the chocolate beautifully.
- 4 oz dark chocolate, chopped: Using high-quality dark chocolate or chips will enhance the ice cream’s flavor.
- ½ cup hot fudge sauce (optional): A fantastic swirl of fudge adds an extra layer of chocolate decadence if you want it!
How to Make Chocolate Ice Cream Recipe
- Heat Dairy: In a medium saucepan, combine 1½ cups heavy cream, 1½ cups whole milk, ½ cup granulated sugar, 3 tablespoons cocoa powder, 2 tablespoons light corn syrup, and ¼ teaspoon fine sea salt. Heat over medium, stirring occasionally, until steaming but not boiling.
- Whisk Yolks: In a separate bowl, beat 4 large egg yolks until smooth and pale yellow.
- Melt Chocolate: In another small bowl, add 4 oz chopped dark chocolate. Pour one big ladleful of hot milk over the chocolate and let it sit to melt.
- Temper Eggs: Slowly drizzle a ladleful of the hot milk mixture into the egg yolks while whisking constantly. Repeat this process, adding several more spoonfuls of hot cream to gradually warm the yolks. Pour the tempered yolk mixture back into the saucepan. Cook for about 30 seconds until it thickens just slightly and reaches 170-175°F (or until it coats the back of a spoon). Do not allow it to boil!
- Combine Flavors: Stir in the melted chocolate and 1 tablespoon vanilla extract. Strain the mixture through a fine-mesh sieve into a clean container to remove any lumps or cooked egg bits.
- Chill the Mixture: Place in the refrigerator to chill for at least 4 hours or ideally overnight, allowing flavors to meld beautifully.
- Churn the Custard: Once the mixture is chilled, churn it in your ice cream maker according to the manufacturer’s instructions.
- Fudge Swirl and Freeze: Transfer half of the churned mixture to an ice cream container. Spoon 3 tablespoons of warmed hot fudge sauce over the top and gently swirl with a knife. Add the remaining ice cream on top and drizzle with another layer of fudge. Freeze for at least 4 hours, until firm and scoopable.
- Serve and Enjoy: Scoop into bowls or, for a fun twist, serve it in homemade waffle cones!
Storing & Reheating
Store any leftover chocolate ice cream in an airtight container in the freezer. It will keep well for about 2-3 months. When you’re ready to enjoy it again, simply let it sit at room temperature for about 10-15 minutes to soften slightly before scooping. Ice cream may lose a bit of its initial creaminess, but giving it a stir can help refresh the texture.
Chef’s Helpful Tips
- Avoid the urge to skip the tempering step with the egg yolks, as it prevents them from scrambling and results in a silky custard.
- To enhance your chocolate flavor, consider adding a touch of espresso powder to the mixture.
- Make sure your egg yolks are room temperature for better incorporation and texture.
- If you plan on making this ahead, consider churning it for a shorter time for a softer consistency; you can always freeze it longer if needed.
- Remember that the chocolate flavor intensifies as it freezes, so a slightly lighter flavor before freezing can be good.
Indulging in homemade chocolate ice cream is an experience worth diving into. From the fragrant aroma of melted chocolate to the luxurious feel of creamy dessert on your tongue, every step is a sensory delight. You may get lost in thought as you savor each bite while recalling sweet moments shared with friends and family. Experimenting with this recipe allows for variations like adding nuts or even a hint of mint. I hope you embrace creativity as you whip up this chocolate ice cream recipe!
Recipe FAQs
Can I use cocoa powder instead of chocolate?
Absolutely! This recipe creatively uses both cocoa powder and dark chocolate to achieve depth of flavor. If you prefer only cocoa powder, just increase the amount slightly while adjusting the sugar to maintain sweetness.
How long does it take to churn the ice cream?
Churning time varies by ice cream maker, but generally, you should expect about 20-30 minutes. You’ll know it’s done when the texture becomes thick, and the ice cream holds its shape.
Can I make this recipe without eggs?
Yes! If you want an egg-free version, you can substitute the egg yolks with cornstarch as a thickening agent. The texture might be slightly different, but it’s still delicious!
What should I do if my ice cream is too hard after freezing?
If your chocolate ice cream turns out too hard, let it sit at room temperature for 10-15 minutes before scooping. Alternatively, give it a good stir once it begins to soften for a smoother texture.
PrintMore Desserts & Appetizers Recipes
- Classic Fudgy Brownies (Crinkly Top, One Bowl)
- Grinch Oreos
- Raspberry Nutella Heart Pies
- Easy Donut Holes
- Brazilian Carrot Cake with Chocolate Glaze
Did You Enjoy Making This Recipe? Please rate this recipe with ⭐⭐⭐⭐⭐ or leave a comment.
📖 Recipe Card
Chocolate Ice Cream
- Prep Time: 30 minutes
- Cook Time: 15 minutes
- Total Time: 45 minutes
- Yield: 12 servings 1x
- Category: Desserts & Appetizers
- Method: Churning
- Cuisine: American
Description
This Chocolate Ice Cream features a rich and creamy texture, made with simple ingredients like heavy cream, whole milk, and dark chocolate. It’s a delightful treat that’s easy to make at home, ideal for summer gatherings or cozy evenings with family and friends.
Ingredients
- 1½ cups heavy cream
- 1½ cups whole milk
- ½ cup granulated sugar
- 3 tablespoons cocoa powder
- 2 tablespoons light corn syrup
- 1/4 teaspoon fine sea salt
- 4 large egg yolks
- 1 tablespoon vanilla extract
- 4 oz dark chocolate, chopped
- ½ cup hot fudge sauce
Instructions
- In a medium saucepan, combine the cream, milk, sugar, cocoa powder, corn syrup, and salt. Heat over medium heat, stirring occasionally, until the mixture is steaming but not boiling.
- In a separate bowl, beat the egg yolks until smooth.
- In another small bowl, add the chopped chocolate and pour one ladleful of hot milk over it to melt.
- Slowly drizzle a ladleful of the hot milk mixture into the egg yolks while whisking constantly. Repeat with several more spoonfuls until the egg yolks are warmed. Then, pour the tempered yolk mixture back into the saucepan and cook briefly until the mixture thickens and coats the back of a spoon, avoiding boiling.
- Stir in the melted chocolate and vanilla extract, then strain the mixture through a fine-mesh sieve into a clean container.
- Chill the mixture in the refrigerator for at least 4 hours or preferably overnight.
- Churn the cooled custard in an ice cream maker following the manufacturer’s instructions.
- Transfer half of the mixture to an ice cream container. Layer with 3 tablespoons of warmed fudge sauce, swirling gently with a knife. Top with the remaining mixture and another layer of fudge. Freeze for at least 4 hours until firm and scoopable.
- Serve in homemade waffle cones if desired.
Notes
Using high-quality chocolate enhances the flavor of the ice cream.
The optional corn syrup helps improve the texture and creaminess of the ice cream.
For a smoother texture, ensure the chocolate is completely melted before mixing.
Nutrition
- Serving Size: 1/2 cup
- Calories: 250
- Sugar: 24g
- Sodium: 100mg
- Fat: 15g
- Saturated Fat: 9g
- Unsaturated Fat: 5g
- Trans Fat: 0g
- Carbohydrates: 29g
- Fiber: 1g
- Protein: 4g
- Cholesterol: 100mg